When it comes to 'the perfect brow' there are so many questions to consider: Thick or thin? Arched or flat? Where do they start? Where do they end?
Brows can be such a personal thing that one rule doesn't necessarily apply to all. It all comes down to preference and what's most flattering for your face shape.
We'd always recommend popping in for an expert consultation and shaping, but if you're a DIY-er and trust yourself more than anyone, then a little guidance can go a long way.
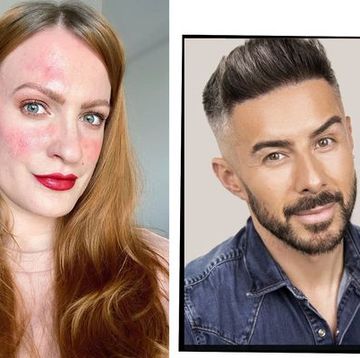
We sat down with Lisa Potter-Dixon, Benefit Cosmetics head make up artist and brow expert to give us her step-by-step guide to brow mapping shapes, how to choose the right brow colour and her top product tips.
Grab a pen and paper, you'll want to take notes:
How to brow 'map'
- Start by mapping your brows to make sure they start, arch and end in the right place, as this will make your nose look slimmer, open your eyes and lift the cheek bones. To do this, take a makeup brush and hold the brush at the angle from the corner of your nose, through the inner corner of your eye. This is where your brow should start.
- For the arch, look straight ahead and hold the brush from the corner of the nose straight up through the centre of the eye. This is where your brow should arch.
- For the end, hold the brush from the corner of your nose to the outer corner of the eye, this is where your brows should end.
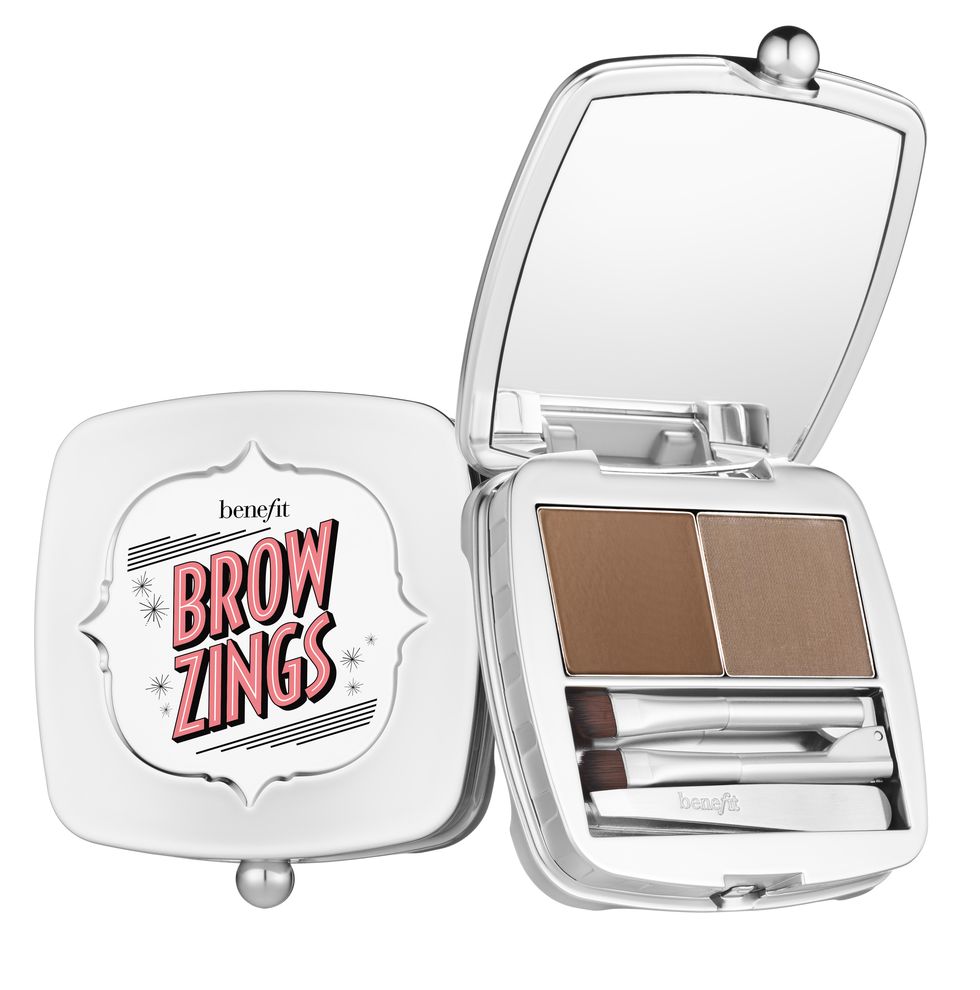
- Using these marks as a template, fill in your brows with BrowZings(£24.50) by applying the wax first and the powder after. This will give you a defined, arched brow that will suit your face beautifully.
How to shape your brows
Feathered
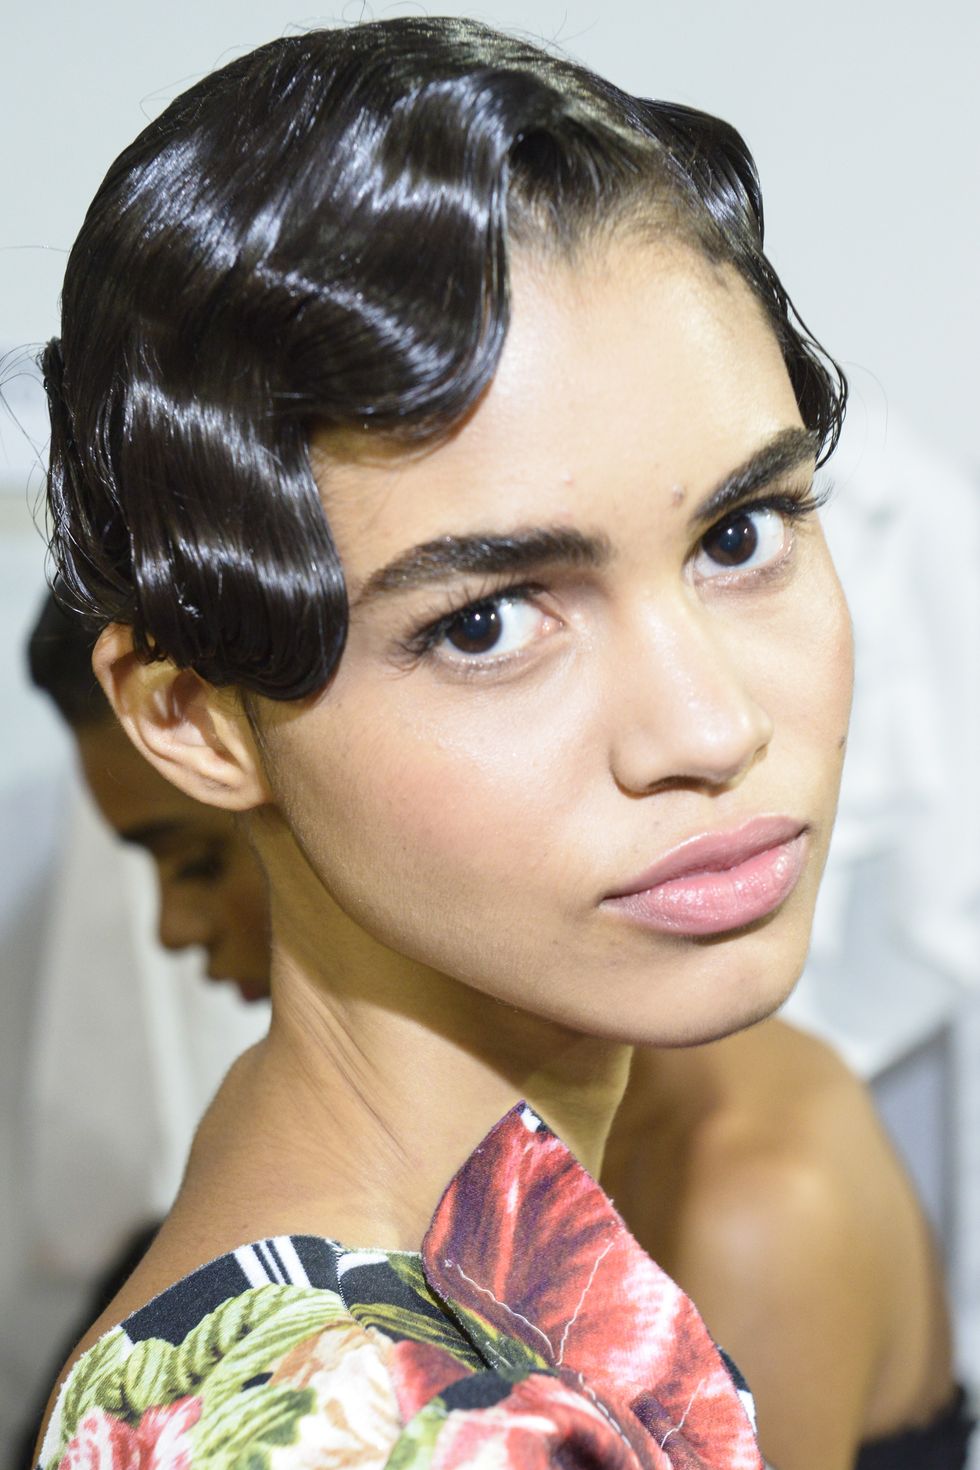
The feathered brow, otherwise known as 'The supermodel brow', has been a huge hit on the catwalk. It works great on a full brow, and can be recreated easily with the right products.
- Begin my mapping your brows to make sure they start, arch and end in the right place. Although this brow is less structured, positioning your brow correctly is still important.
- Fill in your brow, ignoring the front third of the brow, with an ultra-fine brow pencil like Benefit's Precisely My Brow Pencil (£18.50). Flick the pencil through the brow to create believable hair like strokes. Don't apply too much product as we are going for the natural look.
- Take a fiber gel and brush through the front section of the hair to add volume. If you have minimal hair here, you can use the pencil you used for the rest of the brow, to draw vertical strokes right at the very front, to create a feathered hair like look.
- Finish with a clear setting gel to position the brows. The front section of the brow should be brushed up, whilst the rest of the brow should be brushed down to give you that supermodel brow vibe.
Bold
Bold brows are great for adding drama and an instant eyelift. Rocking a bold brow with a bright lip is one of my fave things to do.
- Using the product of your choice, I love a cream gel formula, such as Benefit's Ka-brow (£18.50) for this look, draw a fluid line under the brow and on top of the arch, following the mapped out marks. Then fill in the brow, avoiding the front of the brow.
- To fill in the front of the brow, I like to use a brow pencil 2-3 shades lighter than my brow hair. This gives a soft finish to the front of the brow because, although we want the brows to look bold, we don't want them to look stuck on.
- Finish with a brow setting gel and conceal around the edges of the brow to make them pop.
Straight
- Straight brows can be cool if created properly – it's all about concealing the arch. When mapping the brows, just map the start and the end. Then, taking a pigmented brow pencil such as Benefit's Goof Proof (£18.50) and draw a line under the brow. This should be a straight line from the start of the brow to the end. Fill in the brow, including the gap under the arch, to create the straight shape.
- You can do the same on top of the brow too if you need too, to hide the top of the brow arch.
- Finish with a fiber gel to add volume, add extra on the area under the brow arch as the fibers in the gel will mimic the appearance of real hair.
How to pick the right brow colour
To choose the perfect brow colour, you need to look at your brow hair and not the hair on your head as, let's be honest, not many of us know our natural hair colour these days.
The closest to your brow hair you go, the more natural the brow will look. However, don't be afraid to go a shade or 2 darker if you want a real statement brow. I'm thinking Madonna in the Nineties.
Pencil or gel?
Picking the best formula can be trial and error. A pencil is always going to be easier and quicker to control. But, if you want a 24-hour waterproof brow, then a gel formula is perfect.
I use a pencil and a fiber gel from day-to-day, and then I switch the pencil for a gel for a night out. I always use a clear gel over the top of whatever brow style I go for, as this keeps them in place.
Cara Delevingne's eyebrows better watch out – you have some serious competition.
