We earn a commission for products purchased through some links in this article.
Hands up if you rely a little too much on your trusty BeautyBlender?
Yup, us too.
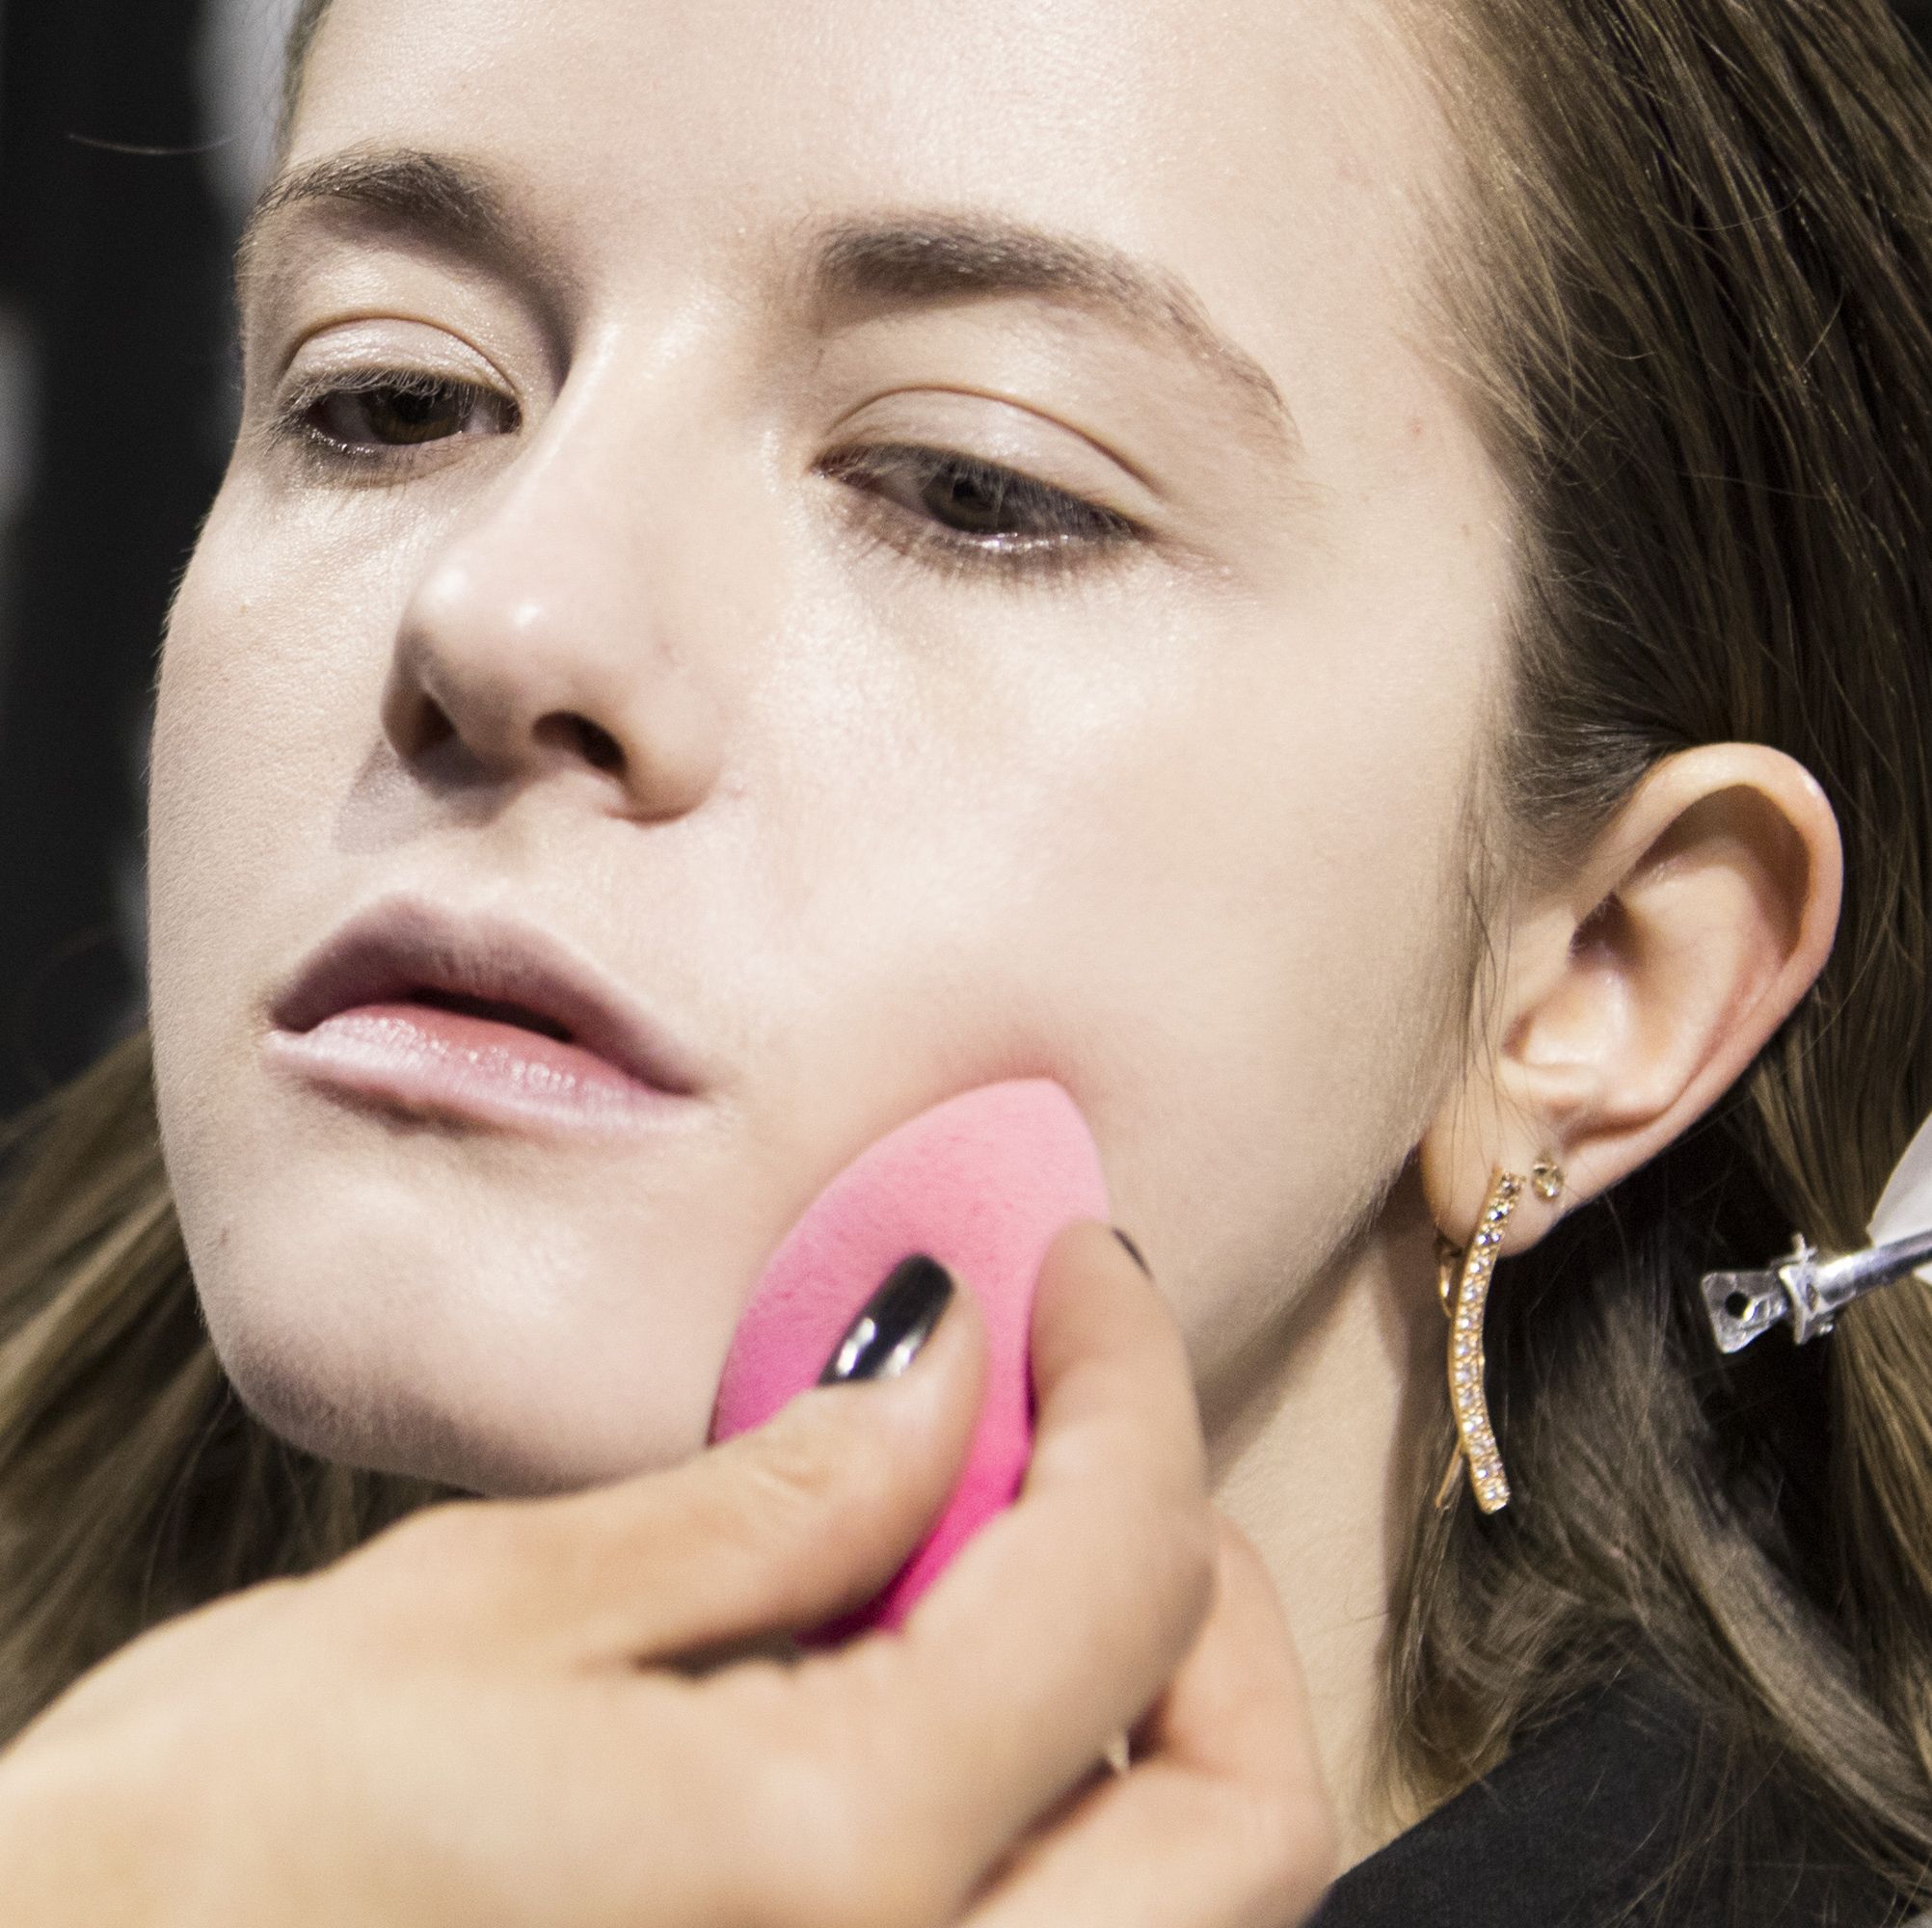
The easiest way to achieve that soft-focus skin without piling on a million concealers (or filters), when it comes to applying foundation, you can try every tool out there, or use a million different brushes, but when it comes down to it, using a BeautyBlender is the one.
But did you know there's secretly loads of different ways to make that cute pink sponge multi-task?
We're talking everything from baking your make-up and creating the ultimate natural smokey eye, to applying root concealer and perfecting ombre nail art. Yes, we said nail art.
Consider our minds blown.
We caught up with BeautyBlender's Global MUA Aline Elasmar to pick her brains and nab those beautyhacks...
First things first, how do you use a BeautyBlender?
'The same rule applies every time: Wet, Squeeze, Bounce. Wet the sponge with water, squeeze out the excess, then bounce your chosen product onto your skin.'
Why does it need to be damp?
'If the sponge has already absorbed some water, it won't absorb any liquid foundation or other products you put on it which means your foundation goes on your face, instead of in the sponge. Just wash it before you use it to keep it clean - you use it wet anyway so you might as well wash it then!'
Now, back to the hacks...
1. How To Use A BeautyBlender To...Bake
'It might seem weird to use a damp sponge to set powder, but if you really squeeze it out, it won't transfer any product.
'Take the pointed end of the BeautyBlender, load it with powder, and dab onto the areas under your eyes and cheekbones to set your concealer.'
2. How To Use A BeautyBlender To... Highlight
'Using the round end, dab the BeautyBlender into cream highlighter then bounce in a C shape from the top of your cheekbone up to your temple, using the side of the sponge to blend. Turn it round and use the pointy end to highlight your browbone and the corners of your eyes.'
3. How To Use A BeautyBlender To... Apply Blusher (And Remove It If It Goes OTT)
'Take the rounded end of the BeautyBlender and bounce onto your cheek. When you use a blusher brush you often apply each cheek in a different direction depending on what hand you use. Using a BeautyBlender means it stays perfectly symmetrical.
'If you've gone a bit OTT, spray the side of the BeautyBlender with toner or face mist and lightly lift off any excess blusher.'
4. How To Use A BeautyBlender To... Do A Natural Smokey Eye
'Get a BeautyBlender micro mini and load up the round end with a neutral eyeshadow. Use your fingers to squeeze the sponge into an oblong shape and pat the eyeshadow onto your eyelid.
'Take a darker colour, and, using the pointed end, work it into your lashline.'
5. How To Use A BeautyBlender To... Create Ombre Nail Art
'Make the most of an old micro mini sponge by using it to create ombre nail art. Apply a base colour, then sponge on a lighter or darker shade to create an ombre effect.'
6. How To Use A BeautyBlender To... Root Conceal
'Take a BeautyBlender at the end of its shelf life, dab in root concealer and sponge onto your roots to get rid of any greys.'
7. How To Use A BeautyBlender To... Make Any Foundation And Moisturiser Work Together
'Sometimes, if you have an oil-based moisturiser and a water-based foundation, or vice versa, they refuse to blend together so you get a cakey tideline and rolling which can look like dry skin.
'If you use a BeautyBlender to apply your foundation, it helps to blend the two formulas together so you get more bang for your buck.'
